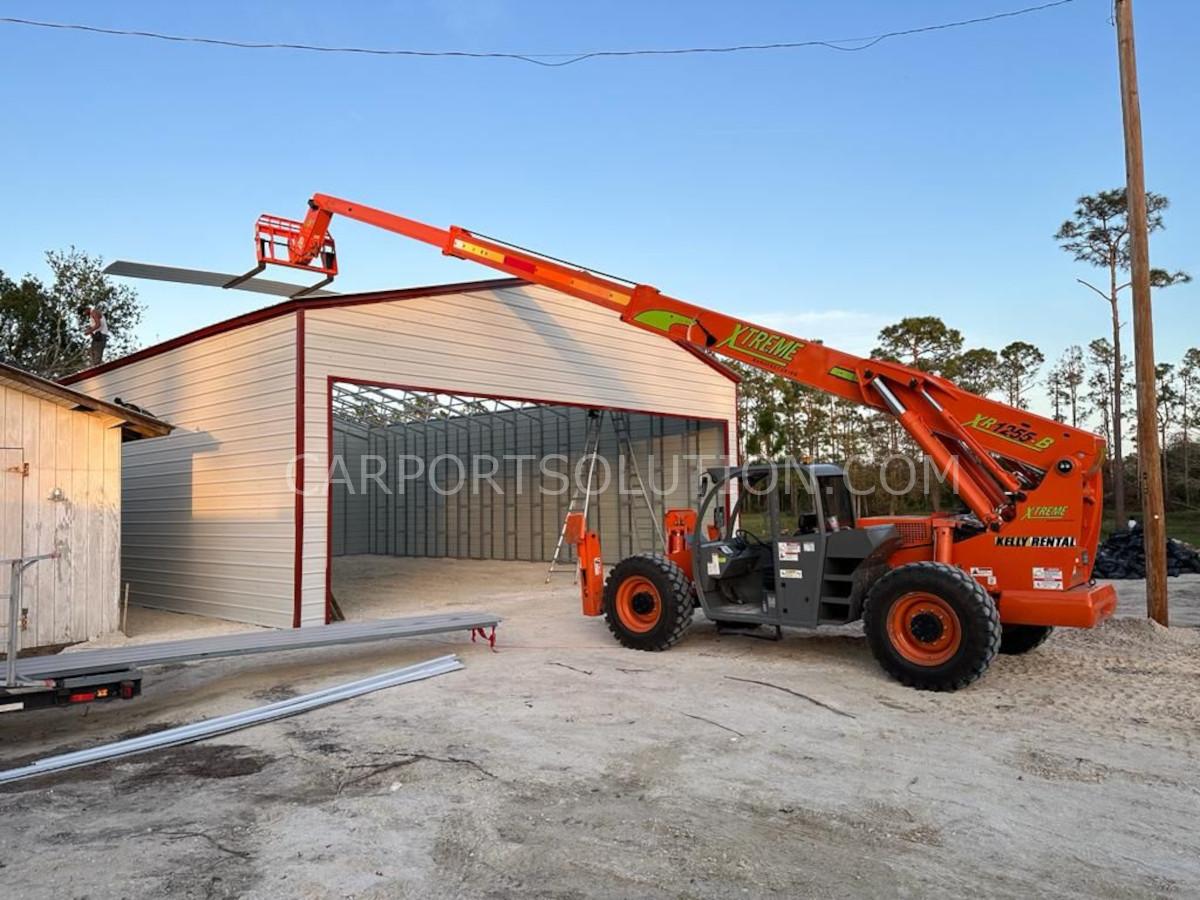
Building your own carport can be a rewarding weekend project—when you’re armed with the right plan and tools. Carport Solutions offers a wide range of carport kits (including Regular Roof, A-Frame, Classic, and Utility styles) in metal, steel, or aluminum. Follow these tips for a smooth, confident DIY installation.

1. Plan & Prepare
- Use the 3D Building Designer: Before you start, visualize your structure in our online tool. Confirm dimensions, roof style, and panel placements.
- Check Local Codes & Permits: Many municipalities require permits or have setback requirements. Research ahead to avoid delays.
- Select the Right Kit: Decide between a pre-engineered metal building kit or a prefabricated carport kit based on your site and skill level.
2. Gather Tools & Materials
- Basic Tools: Tape measure, level, chalk line, socket set, wrench set, and drill/driver.
- Safety Gear: Gloves, safety glasses, and non-slip work boots.
- Anchor System: Depending on your site—concrete anchors, auger anchors, or mobile anchoring kits.
3. Site Preparation
- Clear & Level the Ground: Remove debris, grass, and rocks. A compacted gravel pad or concrete slab provides the best foundation.
- Mark Your Footprint: Snap chalk lines for post locations. Double-check measurements against your 3D Designer plan.
- Install Footers or Anchors: Dig post holes or set anchors according to kit instructions, ensuring posts sit perfectly vertical.
Material & Accessory Selection
Before you break ground, take a moment to finalize your material choices and optional accessories. Carport Solutions offers galvanized steel and marine-grade aluminum panels that resist corrosion in coastal or high-humidity areas. Consider adding integrated gutter systems to channel rainwater away from your driveway—or even solar-ready roof panels if you’re planning future green upgrades. Finalizing these details up front means fewer surprises during assembly and a structure that’s tailored to your climate and lifestyle.

4. Frame Assembly
- Erect Main Beams & Posts
- With help, lift the horizontal beams onto your vertical posts.
- Use a level and temporary braces to hold everything plumb.
- Secure Cross Bracing
- Attach any required diagonal braces or trusses before adding roof purlins.
- Install Roof Purlins & Panels
- Align purlins across the top beams; tighten all fasteners.
- Lay roofing panels from one end to the other, overlapping per instructions to shed water properly.
5. Finishing Touches
- Seal Seams & Fasteners: Apply silicone or polyurethane sealant around any exposed fastener heads to prevent leaks.
- Add Side Panels or Enclosures (optional): Enhance protection and privacy with metal side panels—ideal for garages, barns, or RV carports.
- Clean Up & Inspect: Remove packaging, tighten all bolts, and verify your structure is square and sturdy.
6. Maintenance Tips
- Rinse down your carport annually to remove dirt and pollen.
- Check fasteners after storms and re-seal any chipped or scratched paint.
- Keep gutters and anchors clear of debris to prevent water pooling.
With these added considerations—material selection, accessory planning, and logistical support—your DIY carport installation will be even smoother. Combine these insights with your Carport Solutions kit and our 3D Building Designer, and you’ll enjoy a custom metal structure built to last.
